skyway-iot-sdk
How to use sample app
After installation, you can check the sample page which you can check live streaming from your IoT device and MQTT proxy feature. Please be sure that installation procedure is completely finished before.
start processes on your IoT device
- janus gateway
/opt/janus/bin/janus
- SSG
ROOMNAME=testroom MQTT_URL=mqtt://localhost MQTT_TOPIC=testtopic/+ ssg start
- Video Streaming ( test source )
Raspbian
gst-launch-1.0 videotestsrc is-live=true ! \
  video/x-raw,width=640,height=480,framerate=30/1 ! \
  videoscale ! videorate ! videoconvert ! timeoverlay ! \
  omxh264enc target-bitrate=2000000 control-rate=variable ! \
  h264parse ! rtph264pay config-interval=1 pt=96 ! \
    udpsink host=127.0.0.1 port=5004 \
audiotestsrc ! \
  audioconvert ! queue ! \
  audioresample ! \
  audio/x-raw,channels=1,rate=16000 ! \
  opusenc bitrate=20000 ! \
    rtpopuspay ! udpsink host=127.0.0.1 port=5002
Ubuntu16.04
gst-launch-1.0 videotestsrc is-live=true ! \
  video/x-raw,width=640,height=480,framerate=30/1 ! \
  timeoverlay ! \
  x264enc aud=false key-int-max=1 tune=zerolatency intra-refresh=true ! \
  "video/x-h264,profile=constrained-baseline,level=(string)3.1" ! \
  rtph264pay pt=96 ! \
  capssetter caps='application/x-rtp,profile-level-id=(string)42c01f' ! \
  udpsink host=127.0.0.1 port=5004
audiotestsrc ! \
  audioconvert ! queue ! \
  audioresample ! \
  audio/x-raw,channels=1,rate=16000 ! \
  opusenc bitrate=20000 ! \
    rtpopuspay ! udpsink host=127.0.0.1 port=5002
Try sample web app
Before trying to access sample web app, you need to set nttcom.github.io and localhost in your SkyWay API Key settings (available domain).
To check installation is completely finished and your environment working properly, you can use our sample web site.
https://nttcom.github.io/skyway-siru-client/examples/
Type your APIKEY in the top-left text box, then click start button.
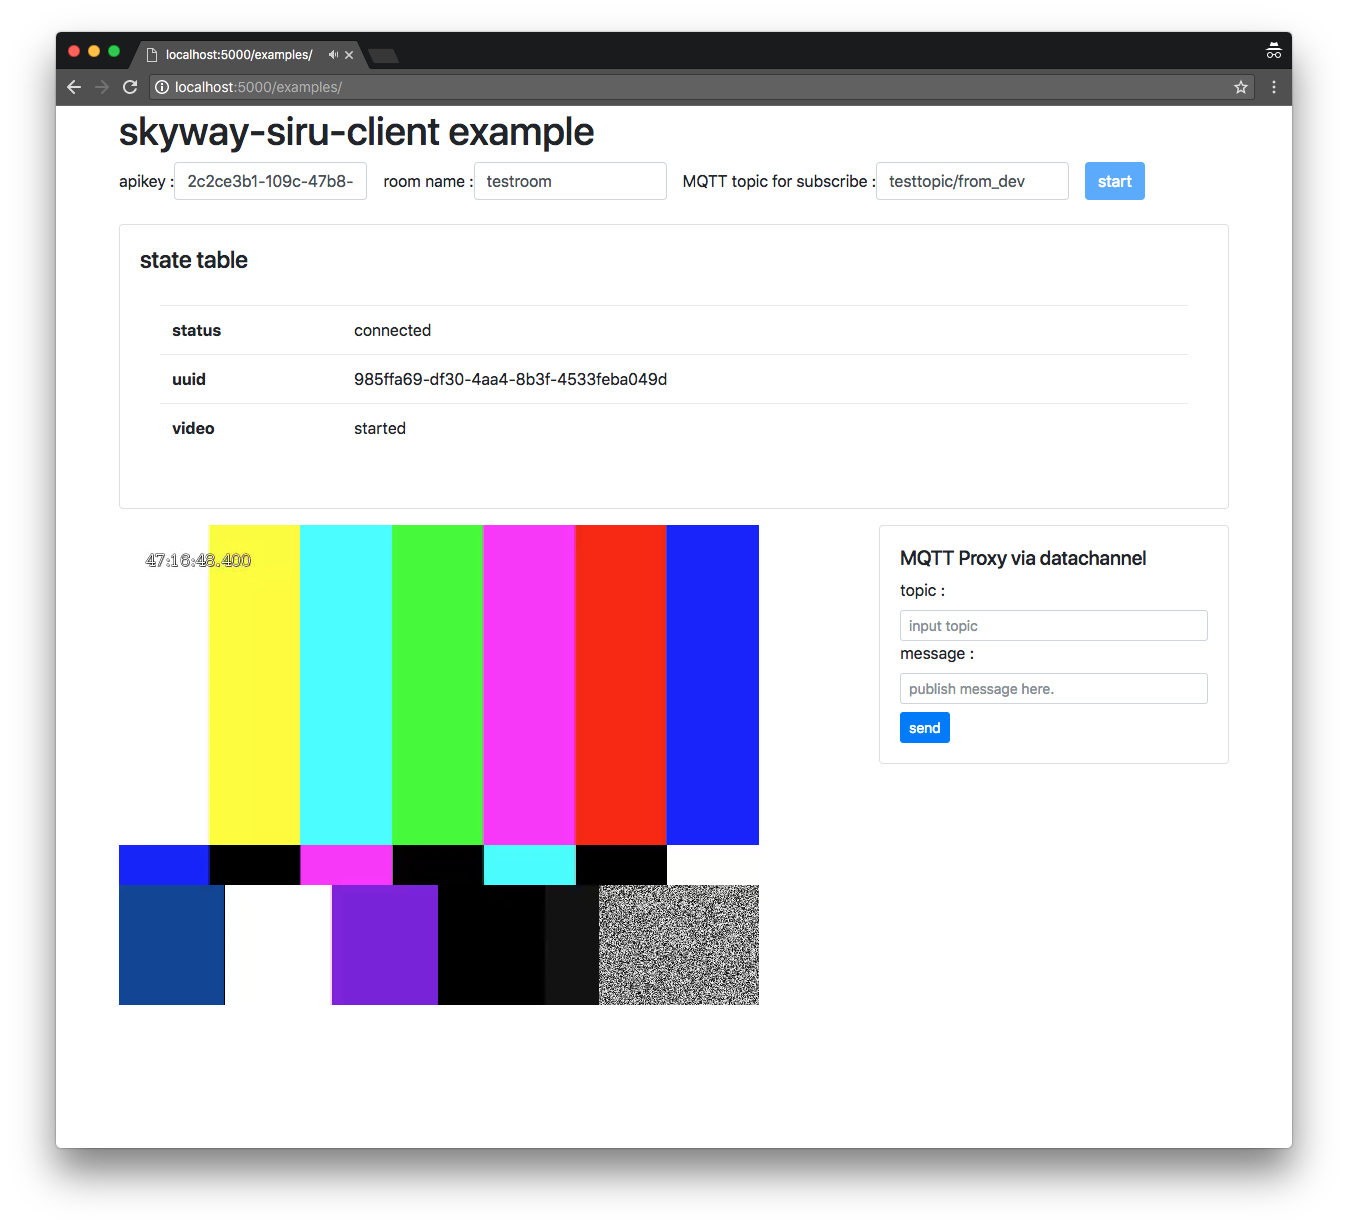
You would see the test video stream shwon below.

Change video source - real camera
Now, you can see the test video and audio streaming which are generated by your IoT device. Yes it is ok, but you would enjoy if you could see the real media streaming from actual camera and mic. We’ll show you how to do this.
Please notice that setting USB camera and mic on your IoT device is completely finished (Since Raspberry PI supports built-in mic, you don’t need to set USB mic on it).
Then simply run gsreamer pipeline shown below.
Raspbian
gst-launch-1.0 v4l2src device=/dev/video0 ! \
  video/x-raw,width=640,height=480,framerate=30/1 ! \
  videoscale ! videorate ! videoconvert ! timeoverlay ! \
  omxh264enc target-bitrate=2000000 control-rate=variable ! \
  h264parse ! rtph264pay config-interval=1 pt=96 ! \
  udpsink host=127.0.0.1 port=5004 \
alsasrc device=hw:1,0 ! \
  audioconvert ! queue !   audioresample ! \
  audio/x-raw,channels=1,rate=16000 ! \
  opusenc bitrate=20000 ! rtpopuspay ! \
  udpsink host=127.0.0.1 port=5002
Ubuntu16.04
gst-launch-1.0 v4l2src device=/dev/video0 ! \
  video/x-raw,width=640,height=480,framerate=15/1 ! \
  timeoverlay ! \
  x264enc aud=false key-int-max=1 tune=zerolatency intra-refresh=true ! \
  "video/x-h264,profile=constrained-baseline,level=(string)3.1" ! \
  rtph264pay pt=96 ! \
  capssetter caps='application/x-rtp,profile-level-id=(string)42c01f' ! \
  udpsink host=127.0.0.1 port=5004 \
alsasrc device=hw:1,0 ! \
  audioconvert ! queue !   audioresample ! \
  audio/x-raw,channels=1,rate=16000 ! \
  opusenc bitrate=20000 ! rtpopuspay ! \
  udpsink host=127.0.0.1 port=5002
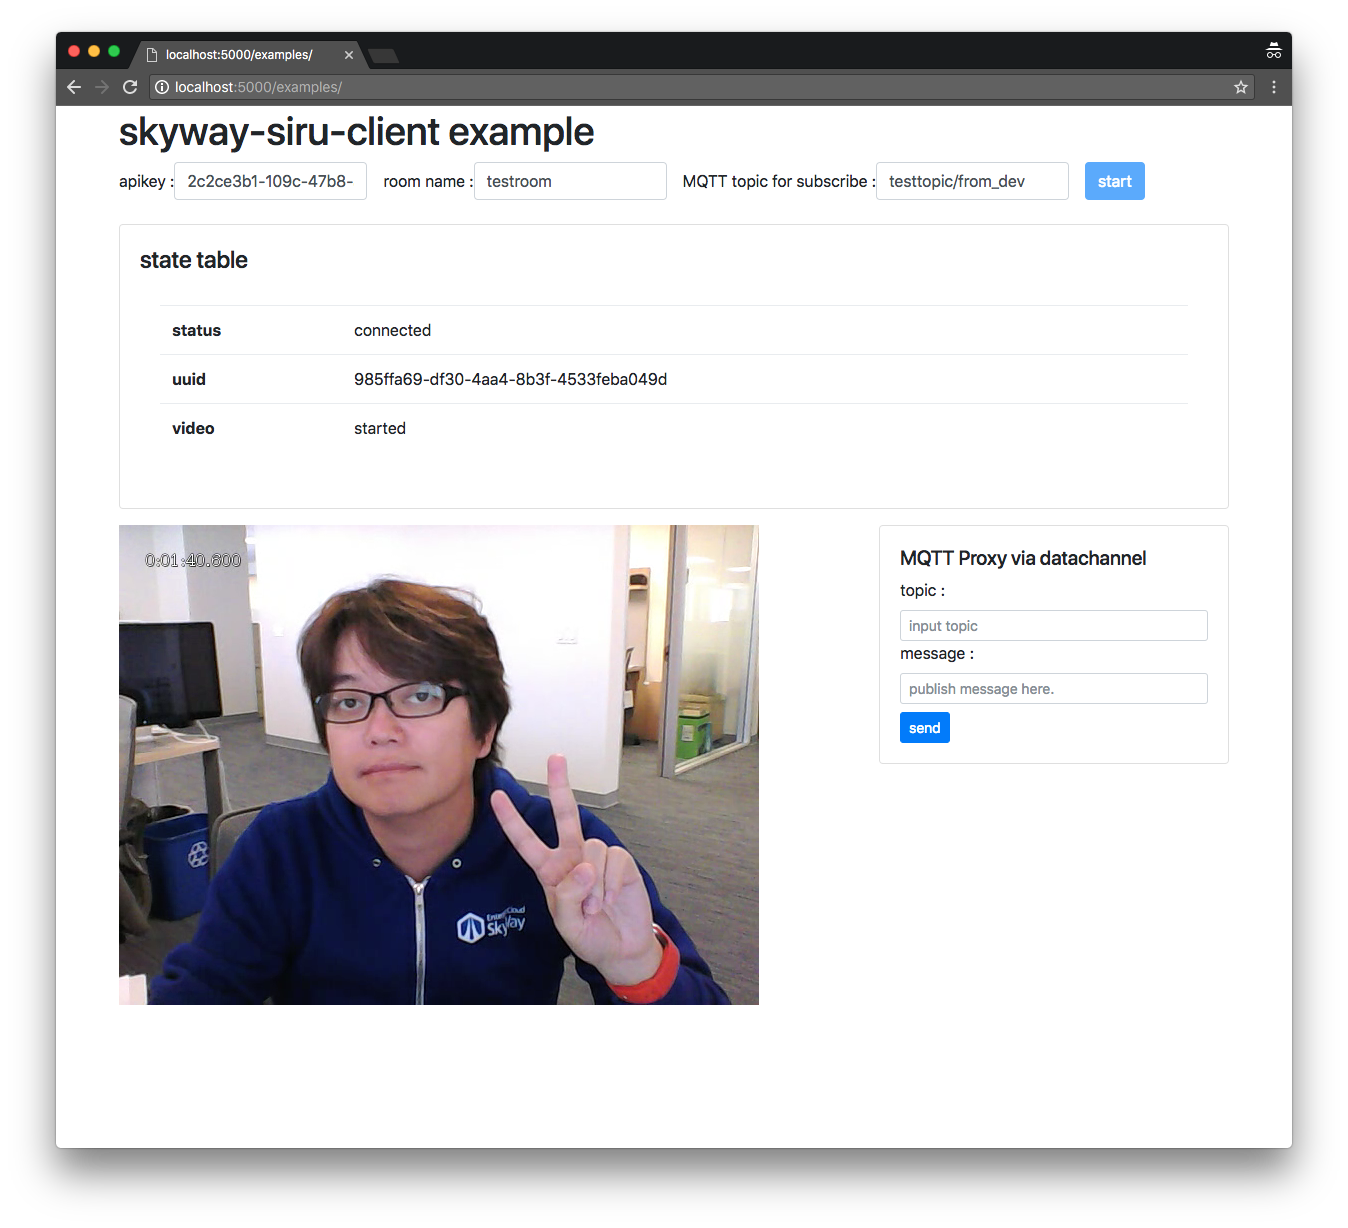
Then, you may see that video changes from test source to real camera.

MQTT proxy
From 0.1.0, this SDK supports MQTT proxy feature from the linux device to web app. As you may see testtopic/from_dev in right-top text box, this web app is subscribing this topic. So, published message from the linux box with this topic will be proxied to this app. For instance, when you type below commnad, you will see this message in your web app.
mosquitto_pub -t testtopic/from_dev -m 'hello iot sdk'
Of course, you can send publish messsage to the linux device. To test this, please execute mosquitto_sub -t testtopic/+ on the devie. Then, in the web app, please type testtopic/from_cli in topic box and arbitrary message in message box, then click send button. You can see the proxied message at the linux console like below.
$ mosquitto_sub -t testtopic/+
"hello from client"
Next Step
Now your SkyWay IoT SDK environment is properly working. Next step is to learn how to build your own app with SDK.
Copyright. NTT Communications All Rights Reserved.